Whether cycling for fitness or just for enjoyment on a nice day, road cycling can be fun and rewarding, but sharing the road with automobiles is not risk-free. The following ten safety tips, while applicable for urban commuting or riding as well, are specifically geared toward rural and suburban road riding, where the benefits of reduced congestion can correlate with the dangers of less attentive drivers.
1. Claim Your Lane
Recognizing the danger that passing automobiles can pose, many road riders move as far right as the road allows. Most of us are now familiar with bike lanes which are generally located on the right shoulder. All this points to treating the white line and the shoulder as the place to be on your road bike, right? Wrong! The key is visibility. “Claim your lane” means when riding on an empty road you should be LEFT of the white line, in the lane of traffic.
Doing this accomplishes two things: 1) you greatly increase the chance that an approaching driver will see you because you are more in their line of sight, where they expect things to be; and 2) you put that driver in a position in which the oncoming lane has to be clear to allow them to pass or they’ll have to wait until it is. Imagine yourself all the way right on the shoulder as a car (or a big rig!) approaches from behind. Not only is that driver less likely to notice you all the way over there, but assuming they do, they may decide that there is enough room to get around you with cars approaching from the opposite direction. Maybe (hopefully) they’re right, but suppose they realize part way through this maneuver that there isn’t enough space. Would we expect them to swerve left into oncoming traffic, or right into the much smaller and slower cyclists?
Claim your lane until you have strong evidence that relevant motorists are aware of your presence (such as them slowing dramatically as they await a chance to pass). Once you’re confident they know you’re there, you can then use your discretion in moving right to make passing easier, but make sure not to invite them to try and pass with oncoming traffic. Claim your lane thoroughly at all intersections, just as motorists do. If there is a line of cars at a stop sign, cue up just like another car.
2. Have a Mirror
The most dangerous motorist is the one approaching you from behind that doesn’t see you, so better you see them. Mirrors are made to be mounted on your helmet, your glasses or your handlebars. They are fairly inexpensive and can be purchased at most bike stores or from countless online vendors. You’re out there to enjoy the ride and maybe work on form and fitness. The peace of mind derived from being aware of what is approaching from behind by just moving your eyes a slight bit, without breaking stride or changing posture, is priceless.
3. Wear Highly Visible Clothing
Again, the key is visibility. If a driver never sees you, how can they avoid hitting you? The most critical article is your outer torso layer. Bright colors are a must, with safety orange or yellow being the best. If you don’t want to buy separate sleeveless, short-sleeve, long-sleeve, and cold weather bright tops, you can get a brightly colored lightweight vest to go over whatever you’re wearing to best meet the conditions.
4. Obey Traffic Laws
Bicycles are subject to the same traffic laws that govern automobiles on public roadways (with few exceptions such as being prohibited from limited access highways, and some jurisdictions establish additional bicycling regulations). So, stop at all stop signs and red lights, make left turns from the left turn lane (and signal your turn), stay right of the center line, follow posted speed limits, etc. If you can get your bike going faster than the limit, you could be cited for speeding. Cyclists are not permitted to use crosswalks or sidewalks any more than are motorists. (A person walking a bicycle is not a cyclist; they are a pedestrian.)
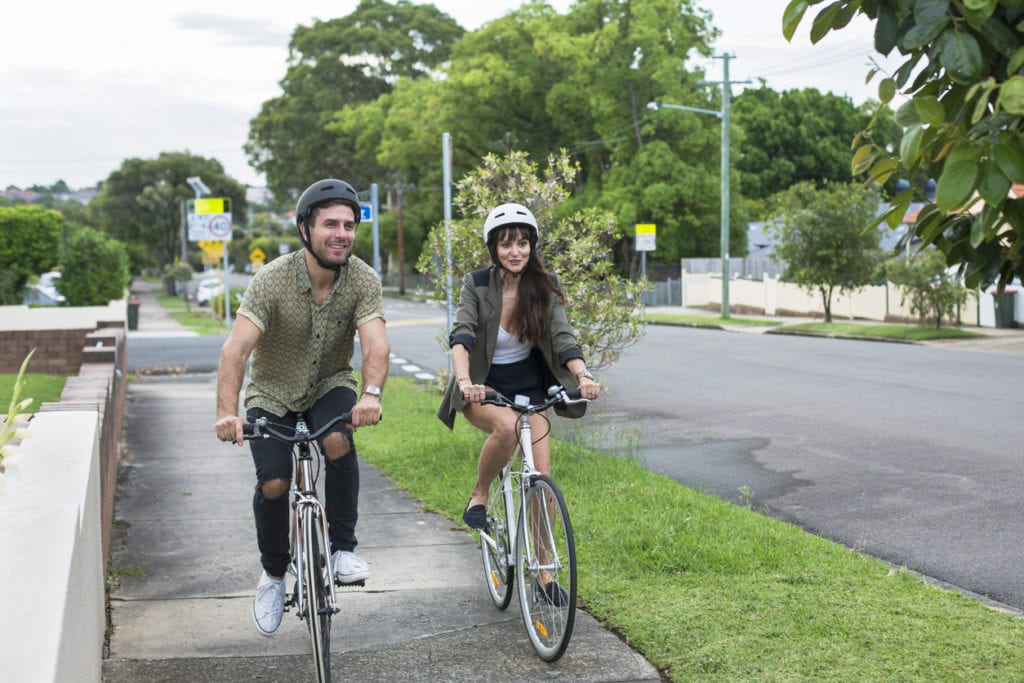
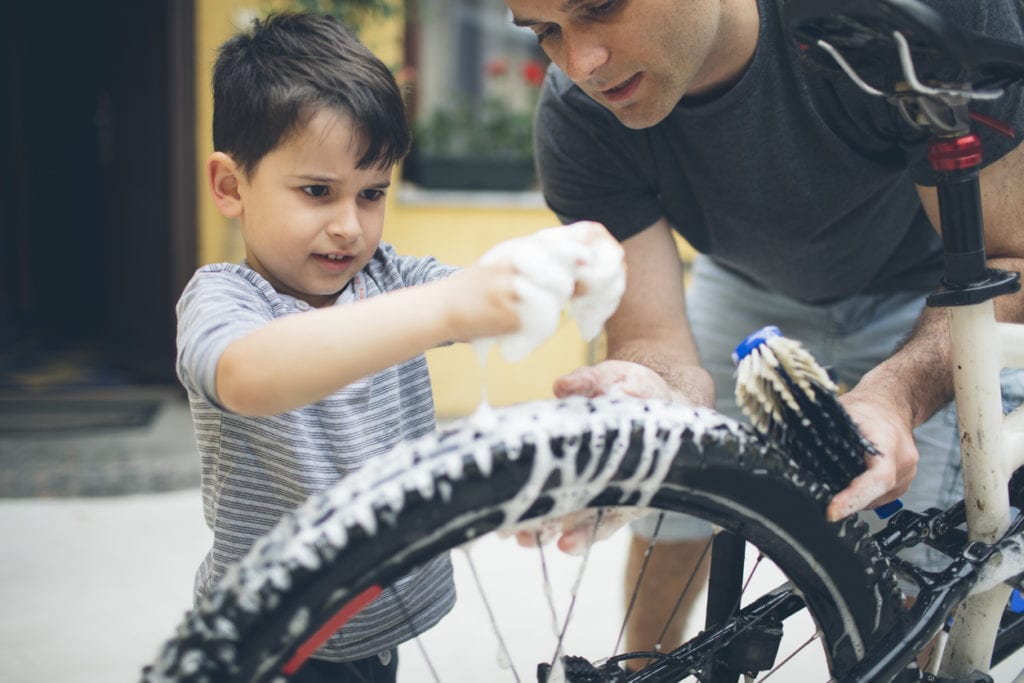
5. Use (Safety) Equipment Properly
Safety dictates and the law requires that bicycles operated on public roadways have reflectors (red on the rear, white on the front). If your bicycle somehow came without these (or the more likely, you were too “cool” to leave them on there), you can get them from any bike dealer. They are inexpensive and very easy to install. Or, if you want to be even more visible and don’t mind paying a little for it, there are many electric lights (with different power source options available) that can easily be mounted in place of the rear and/or front reflector. AND ALWAYS WEAR A HELMET! We’re trying to avoid getting hit or hitting the ground here, but were the worst to happen, protecting that brain is priority number one. In addition, check your equipment before heading out, paying particular attention to brakes and tire condition. Dry-rotted tires can blow out and tend to do so when subjected to greater forces such as high speeds, sharp turning, and heavy braking (in other words, at the worst possible times).
6. Be Prepared and Provisioned
Contingencies have a way of presenting at the least opportune times, so best to be prepared. In preparing for a road ride of any length make sure you have the following with you: ample fluids and calories to last the trip (and then some, just in case things run long), basic bike tool set or multi-tool, tube repair kit (and/or a spare tube) and a pump, cash money and a credit card, identification/driver’s license, and a cellular phone.
7. Know Your Route/Roads
Plan your route ahead of time, considering both how far you want to ride as well as the quality and expected traffic levels of the roads along your route. Obviously, when possible you want to avoid heavily traveled roads and congested areas, generally avoiding U.S. and state routes (depending on how rural the location). Roads with lower speed limits are often safer. Map your route exactly and if you’re not completely familiar with the route, consider taking with you written directions or a map (especially if you can’t rely on having cellular service for the duration of the ride).
8. Practice Safety in Numbers
Aside from all the other reasons friends can make us safer, on road rides the more bodies the more visible the whole group. (So I guess maybe they don’t even have to be friends at the start of the ride.) If you don’t have a group with whom to ride, most bike shops organize regular group road rides or at least can direct you to community groups that do. And if (most) everyone has a mirror there can be constant communication about all the cars approaching from both the front and rear.
9. Know the Weather
Nobody likes riding in inclement weather and numerous hazardous conditions can be introduced such as slick roads, reduced visibility, and high winds. Check the forecast for the entire area and period of your intended ride (and then some, again, in case things run long). Not only are you looking to avoid inclement weather (especially precipitation), but check the winds and route accordingly. Strong headwinds can greatly reduce efficiency and make those last miles really drag on. If you choose to ride in significant wind, when possible, ride out into the wind so that your return trip can be assisted by a tailwind.
There’s not much worse than riding out for half of your allotted time to find as you turn to head home that you’re going to be fighting a headwind the entire way, thereby ensuring you won’t be making it home on time.
10. Know Your Limits
When planning your route, make sure what your getting into is well within your strength and stamina limits. Don’t even push up to those limits, as there is no way to control for everything. An unexpected detour or a sudden shift in wind direction or speed can add significant time to your ride; best to have something left in the tank at the end of the ride as opposed to bonking with ten miles left.
These safety tips are listed in order of priority but are not meant to be all-inclusive. Rather, they address issues specific to road riding in rural and suburban environments and, as such, deliberately leave out more general cycling safety concerns such as proper bike fit and pre-ride stretching. For more safety tips or (worst case scenario) legal advice in the event of injuries resulting from a cycling accident, please contact the Law Office of Gary Brustin.